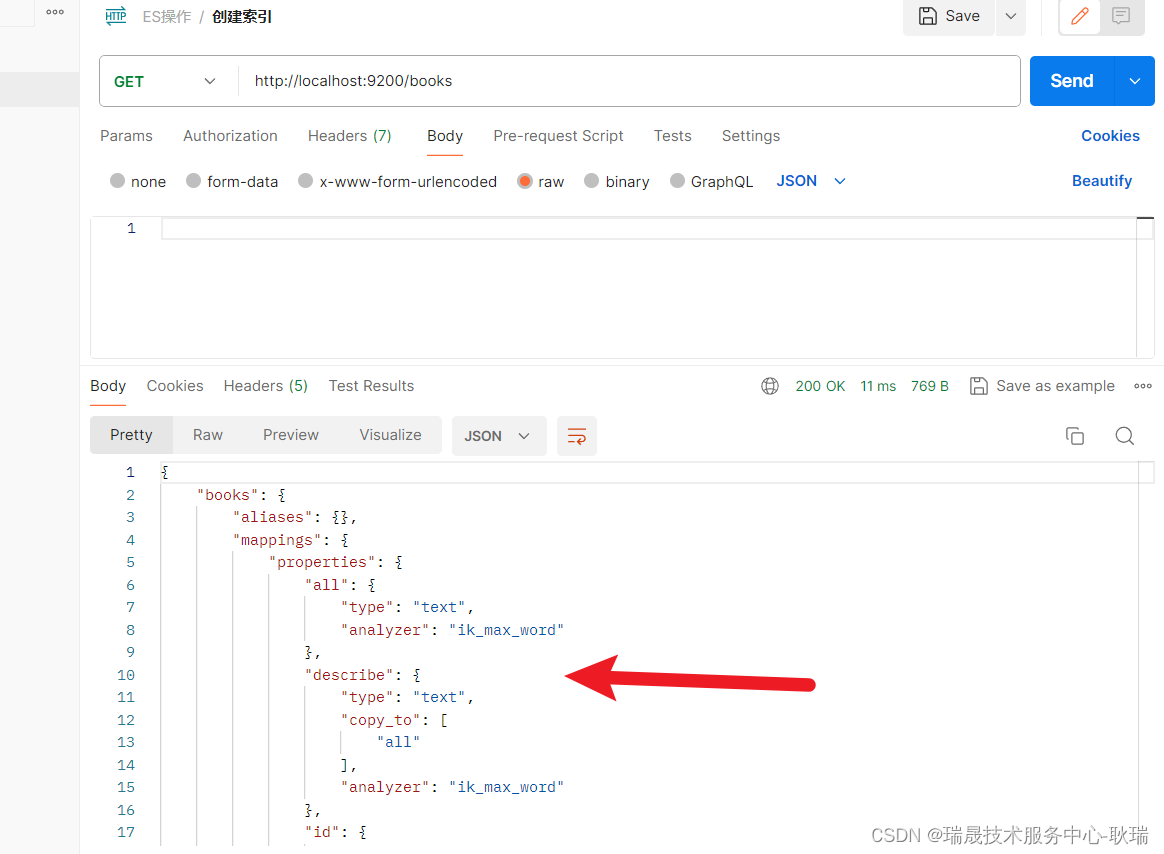
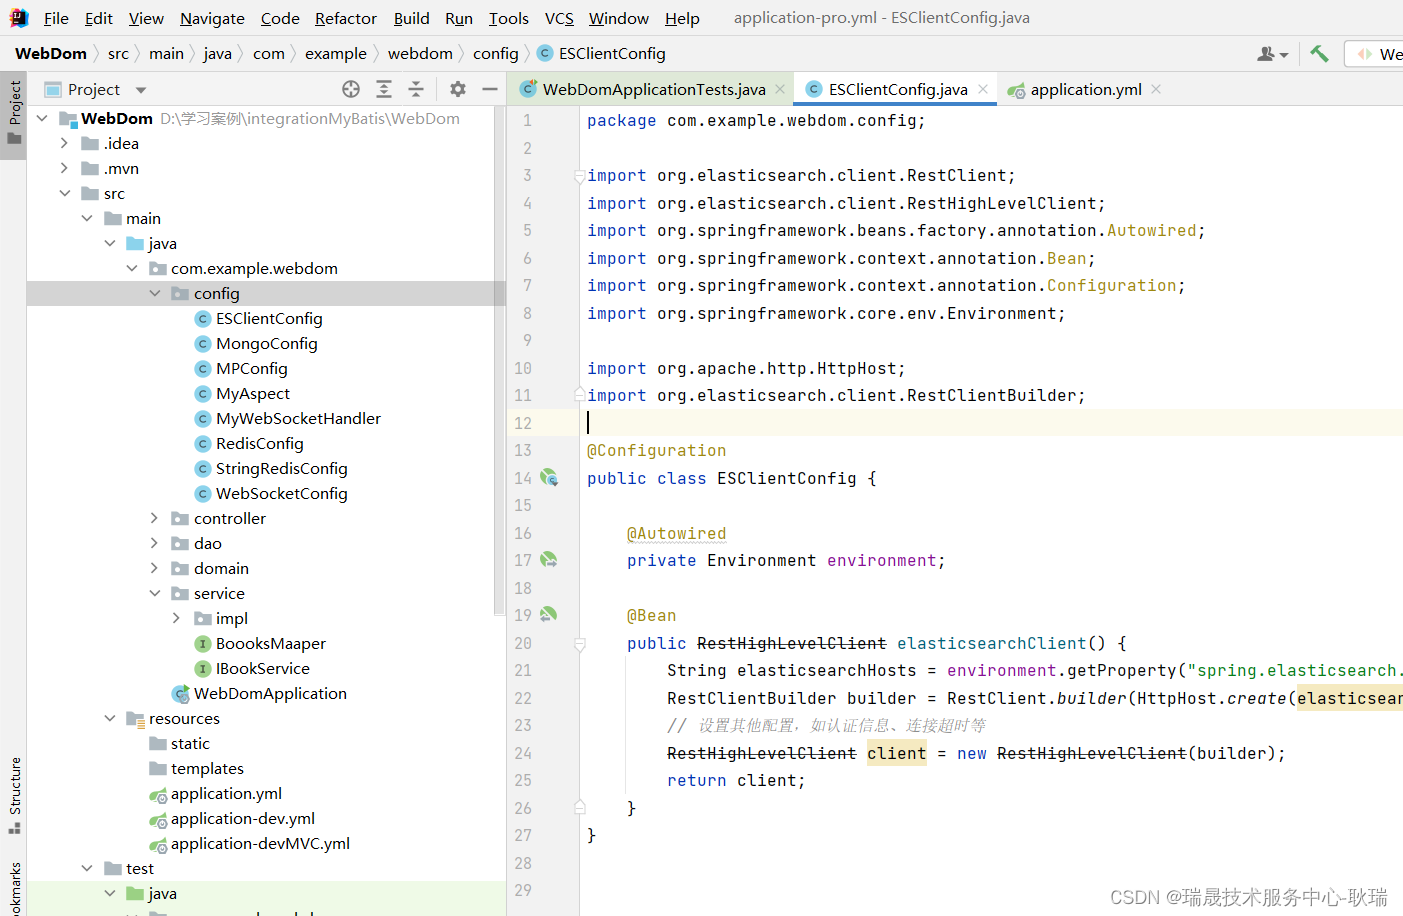
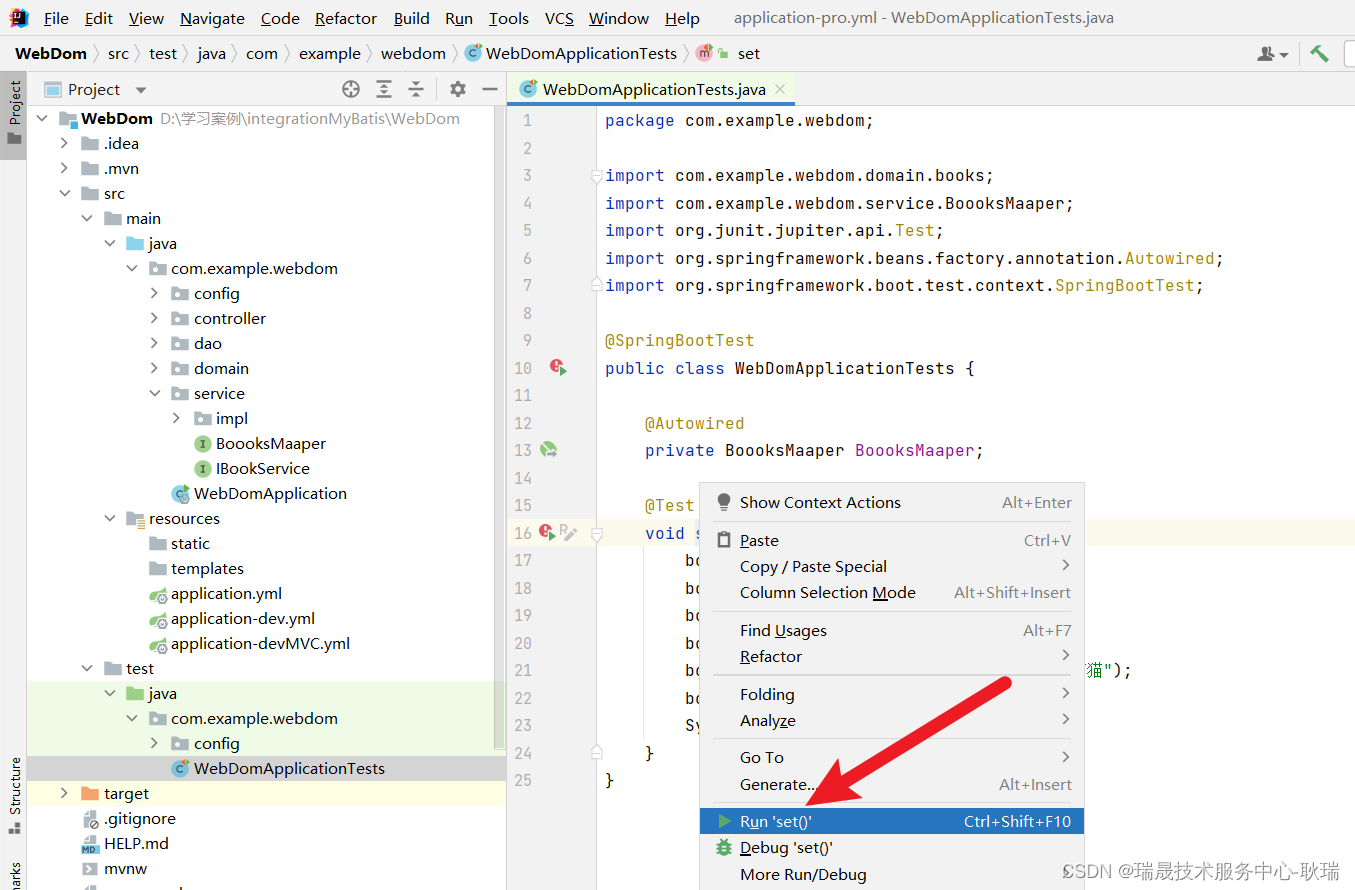
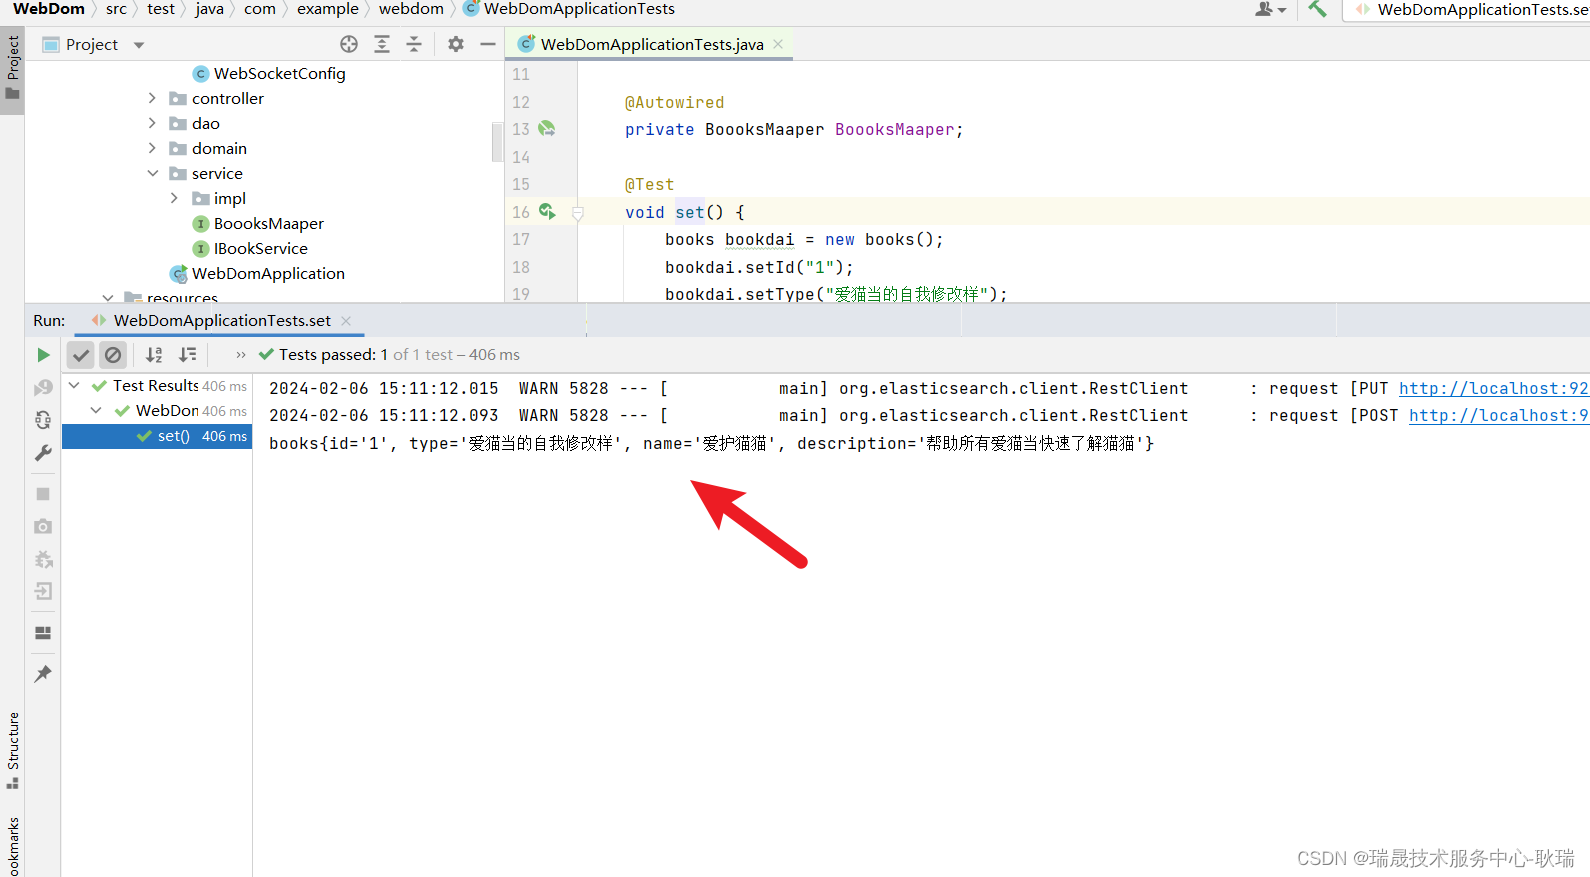
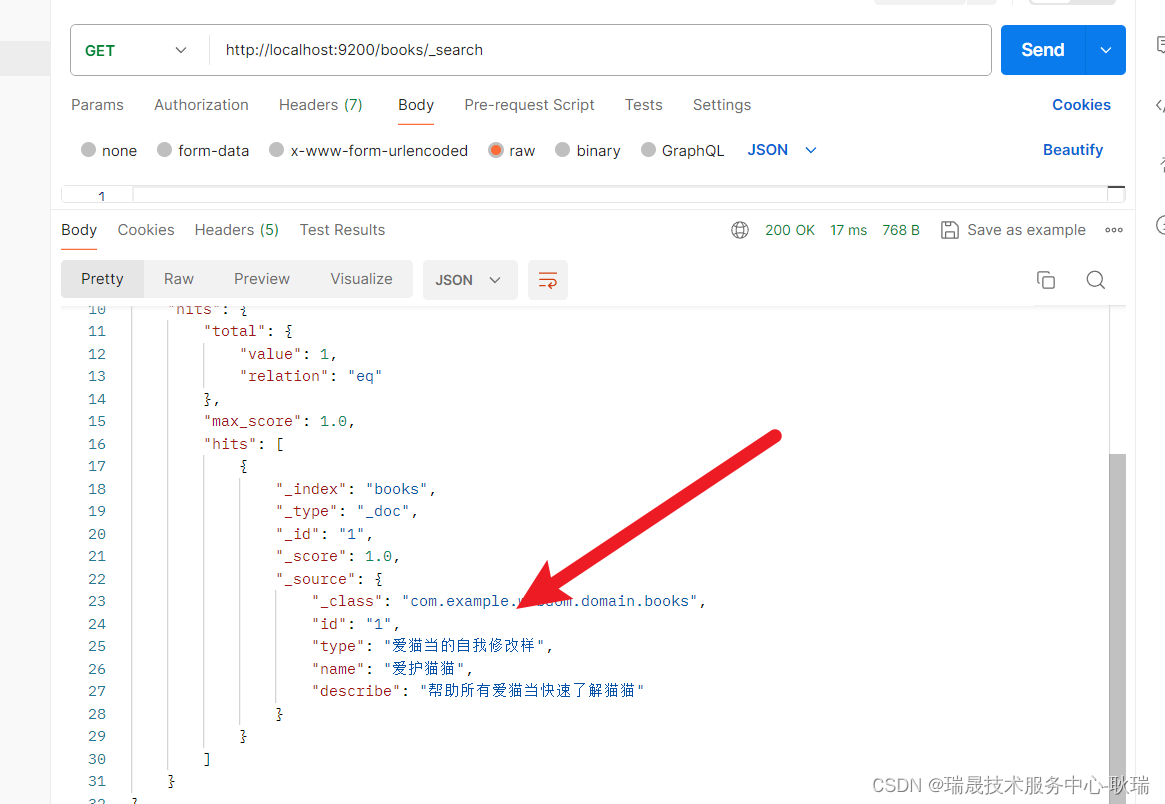
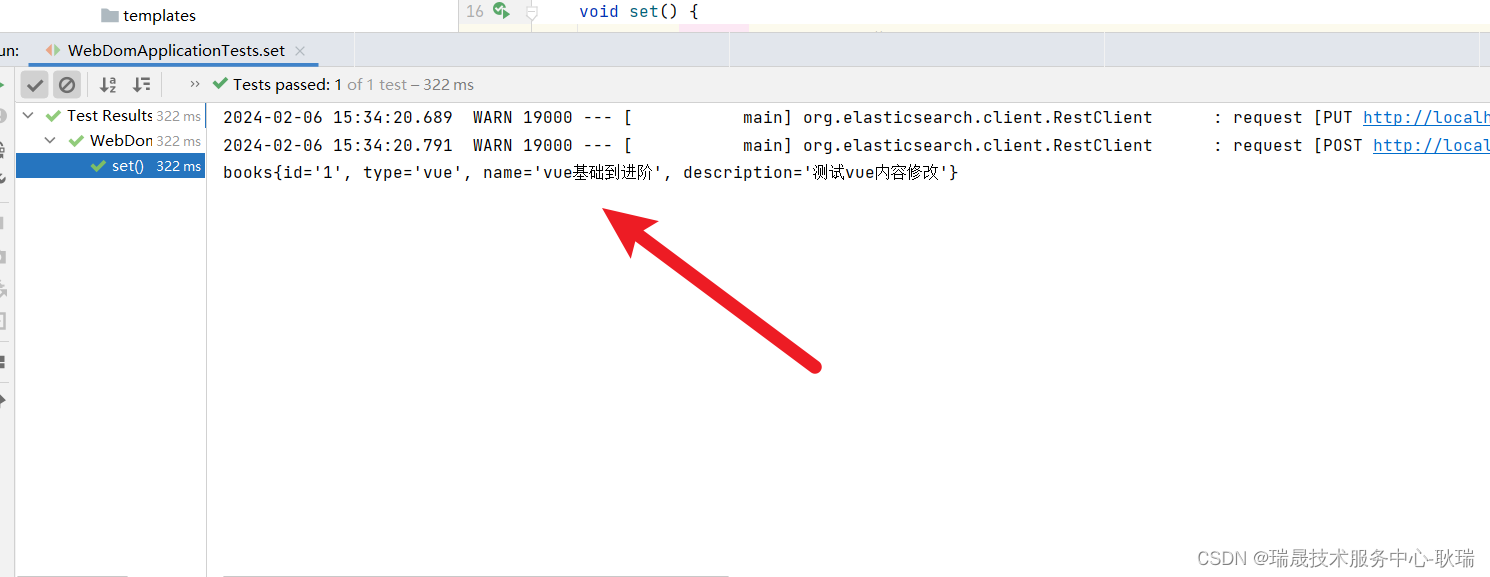
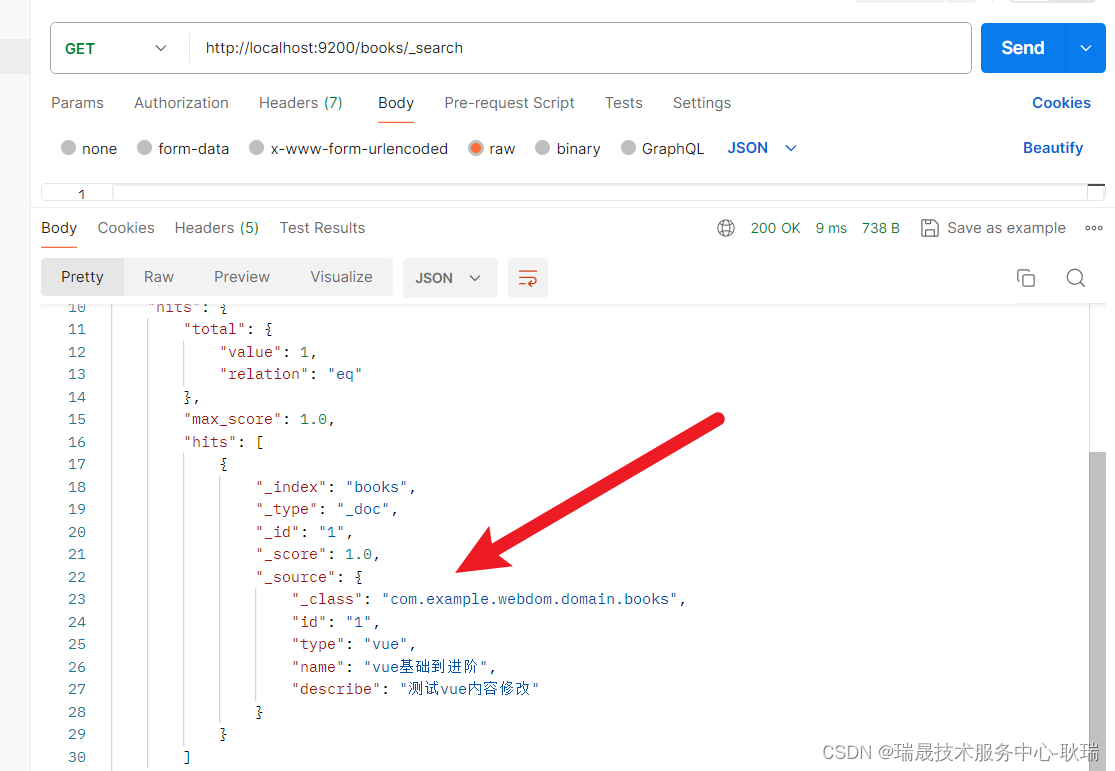
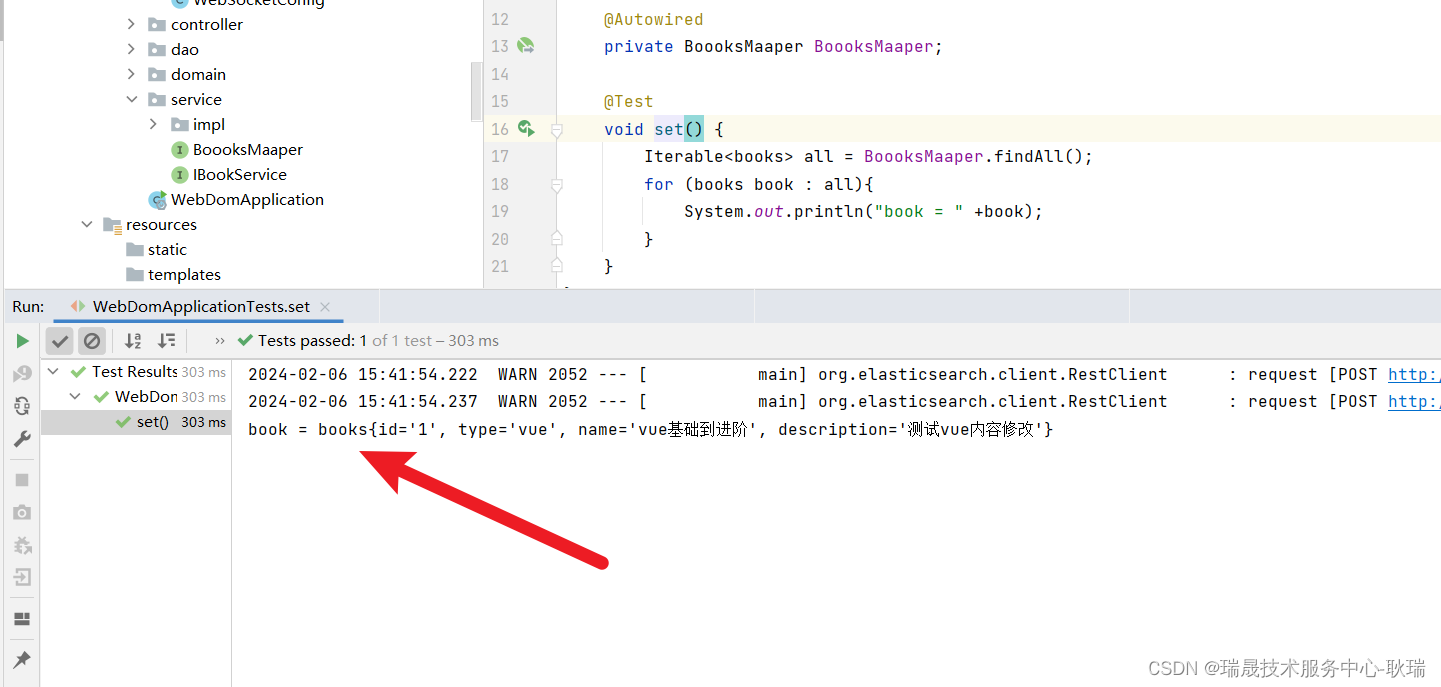
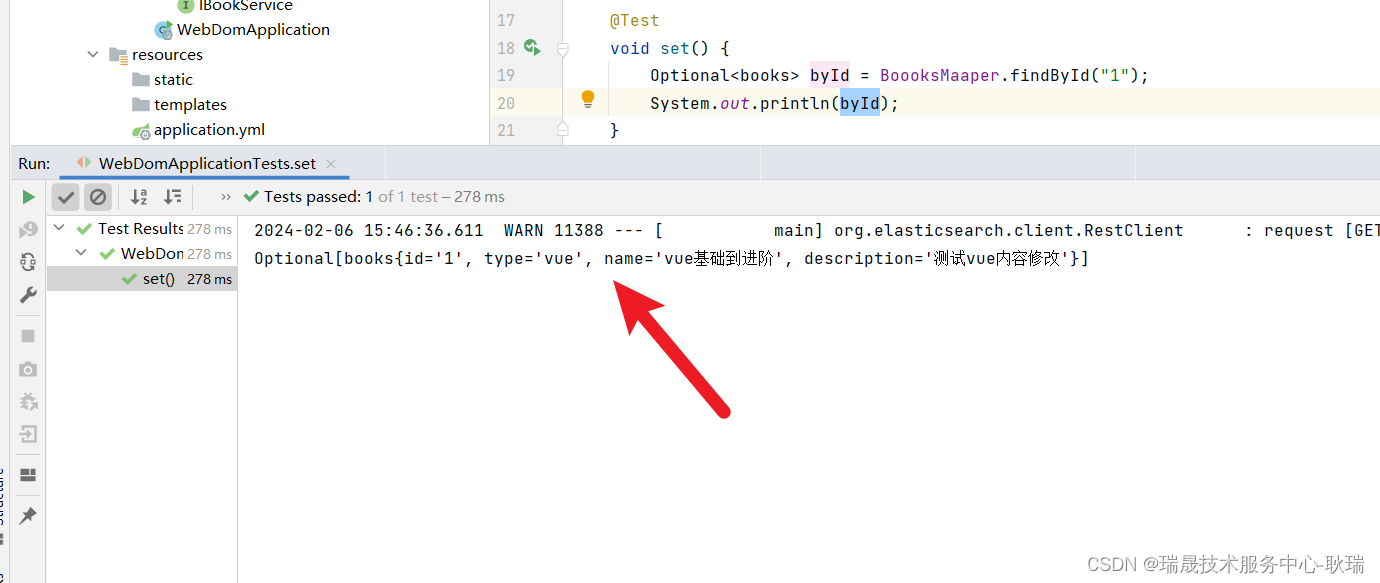
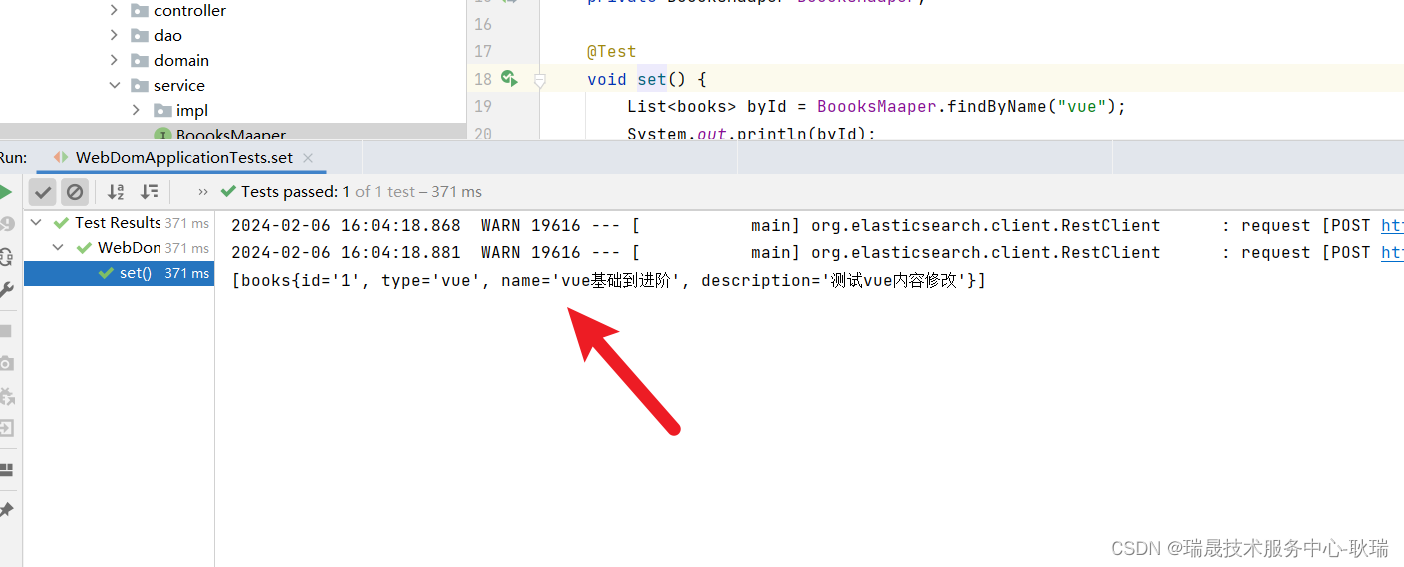
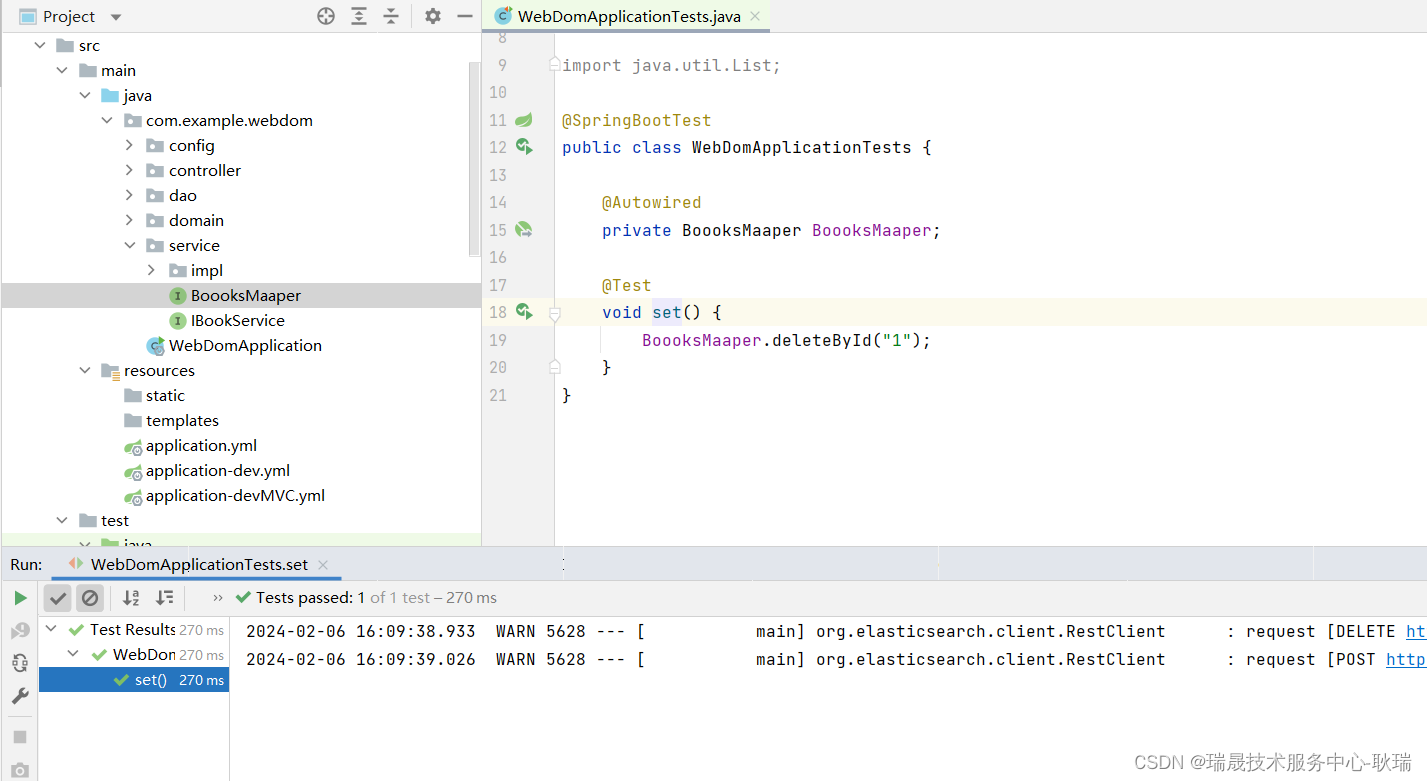
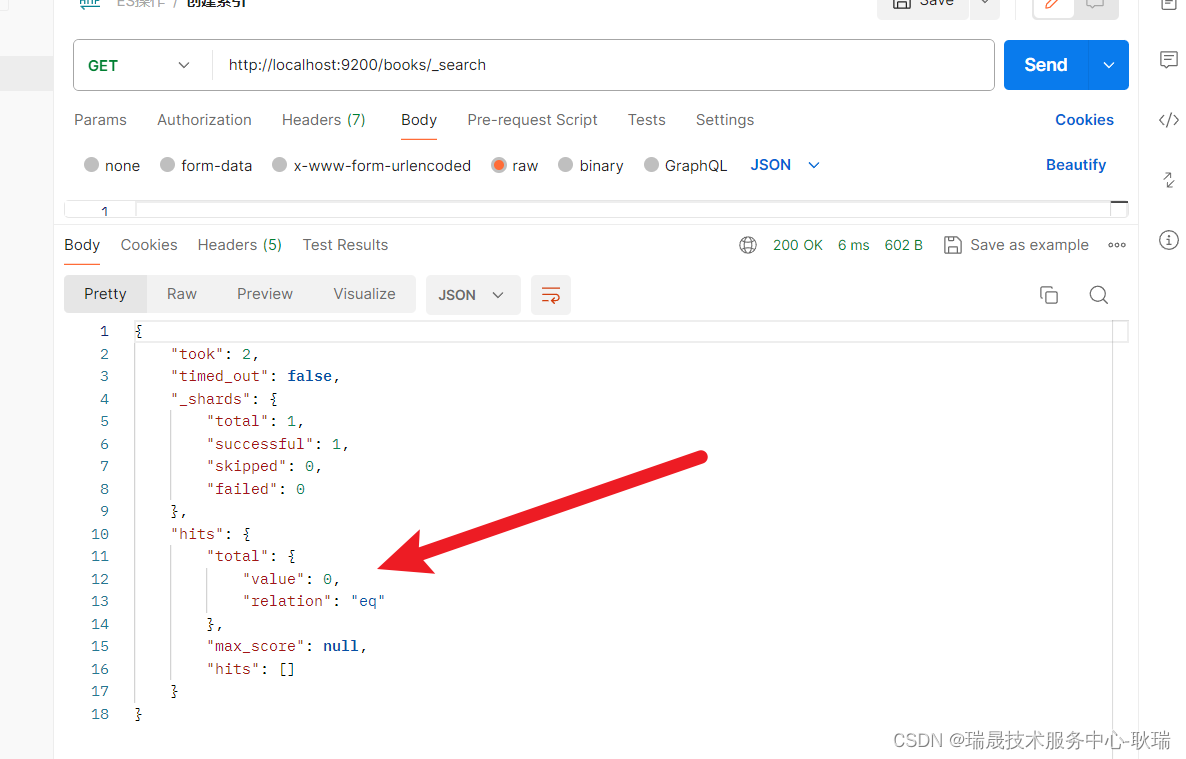
本文介绍: 然后 Document 的indexName 告诉程序 我们要用的是哪一个索引 这里我们给了个 books 表示操作books 索引。然后 我们在启动类同目录下的 config 包 没有就建一个 下面创建一个类 叫 ESClientConfig 名字无所谓。此时 我们就运行成功了 然后 可以看到 save 返回的这个对象 就是我们添加进去的东西了。我们的id 1是已经存在的 所以 它会将我们前面添加那条id为1的数据覆盖掉 就是修改功能了。然后 我们通过请求查询一下 books索引下面的文档。

首先 我们在 ES中加一个 books 索引 且带有IK分词器的索引
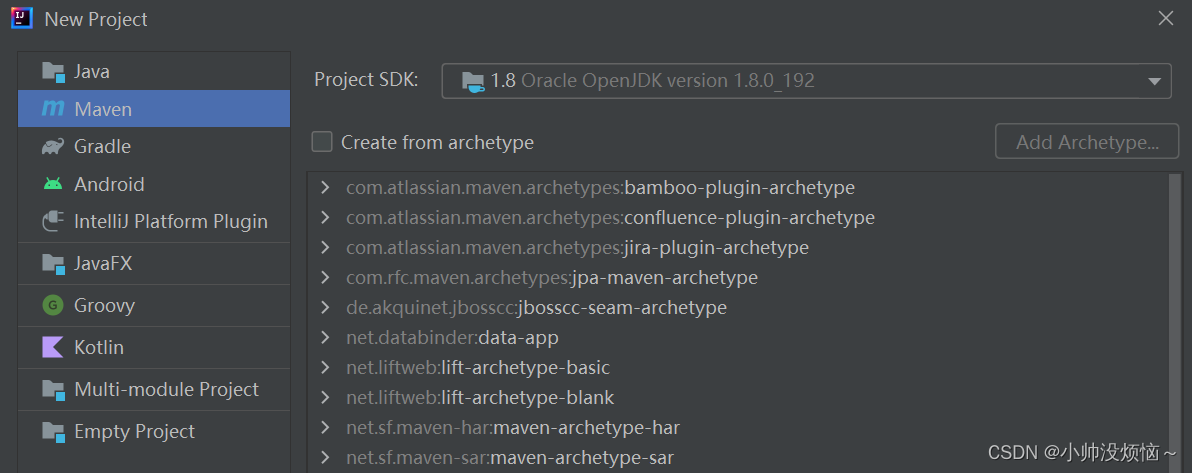
在这里插入图片描述
首先 pom.xml导入依赖

<dependency>
	<groupId>org.springframework.boot</groupId>
	<artifactId>spring-boot-starter-data-elasticsearch</artifactId>
</dependency>

application配置文件中编写如下配置
spring.elasticsearch.hosts: 172.16.5.10:9200
我这里是用的yml格式的

spring:
  elasticsearch:
    hosts: http://localhost:9200

告诉它指向 我们本地的 9200服务

然后 我们在启动类同目录下 创建一个叫 domain的包 放属性类
然后在这个包下创建一个叫 books的类
参考代码如下

package com.example.webdom.domain;

import org.springframework.data.elasticsearch.annotations.Document;
import org.springframework.stereotype.Component;

@Component
@Document(indexName = "books")
public class books {
    private String id;
    private String type;
    private String name;
    private String describe;

    public String getId() {
        return id;
    }

    public String getName() {
        return name;
    }

    public String getType() {
        return type;
    }

    public String getDescribe() {
        return describe;
    }

    public void setId(String id) {
        this.id = id;
    }

    public void setType(String type) {
        this.type = type;
    }

    public void setName(String name) {
        this.name = name;
    }

    public void setDescribe(String describe) {
        this.describe = describe;
    }

    @Override
    public String toString() {
        return "books{" +
                "id='" + id + ''' +
                ", type='" + type + ''' +
                ", name='" + name + ''' +
                ", description='" + describe + ''' +
                '}';
    }
}

在这里插入图片描述
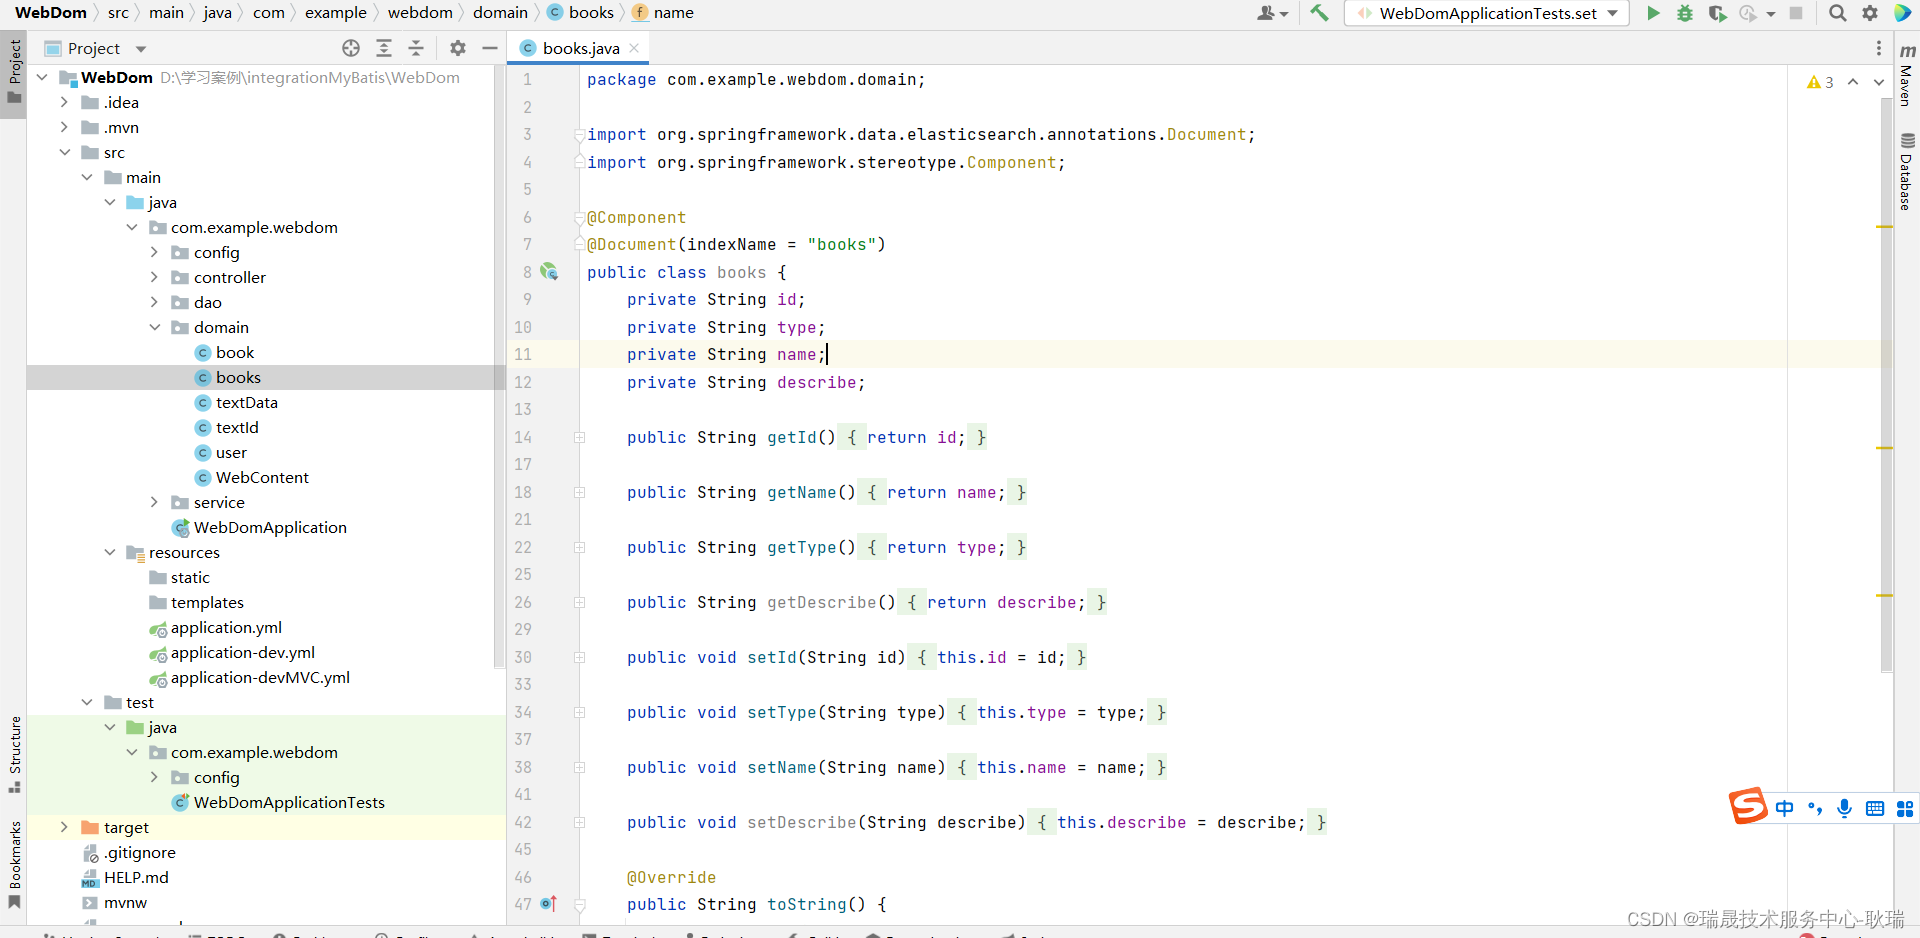
这里 我们就定义了几个属性 声明get set函数 然后 为了不免错误 我们id直接给了个字符串类型
重写了toString 让大家能够更直观的看到属性
然后 Document 的indexName 告诉程序 我们要用的是哪一个索引 这里我们给了个 books 表示操作books 索引

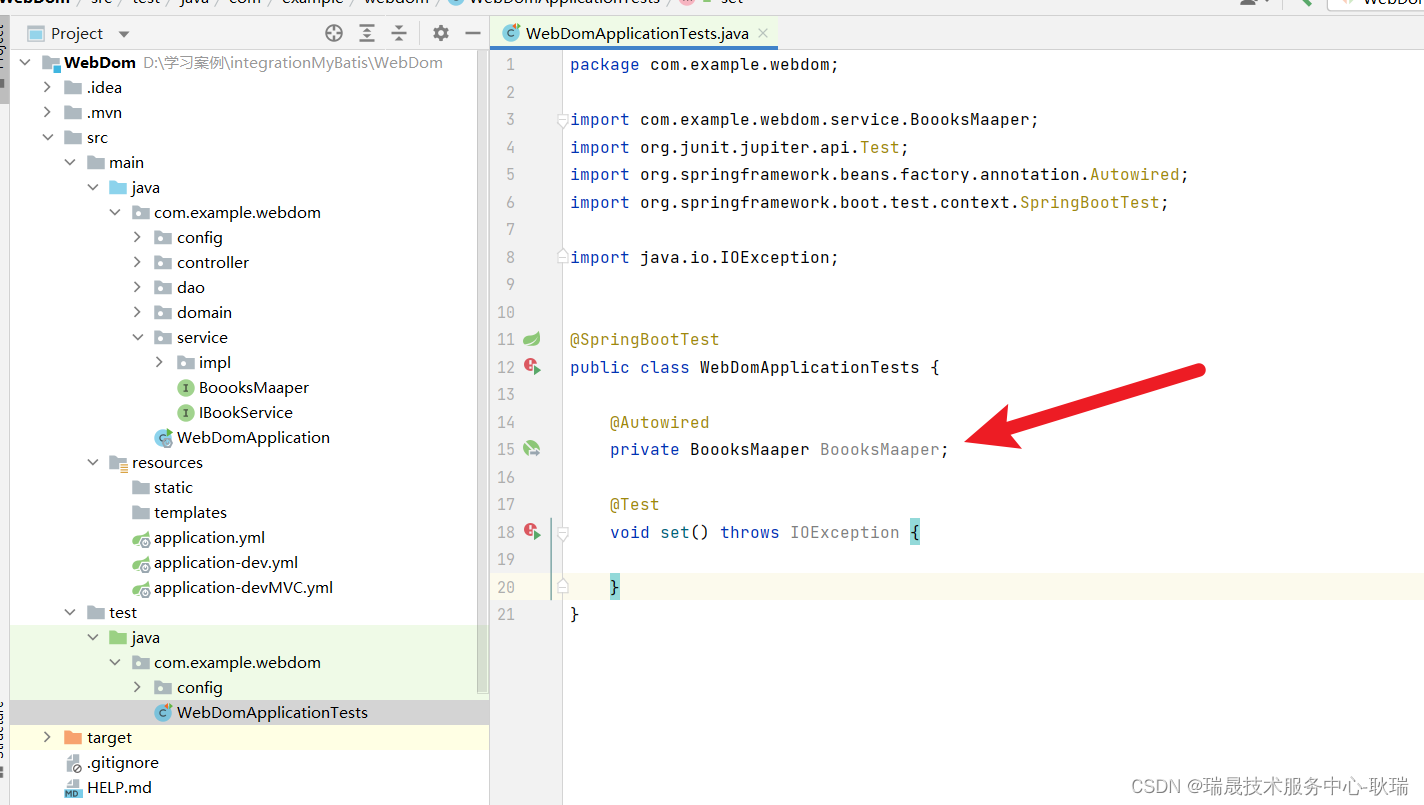
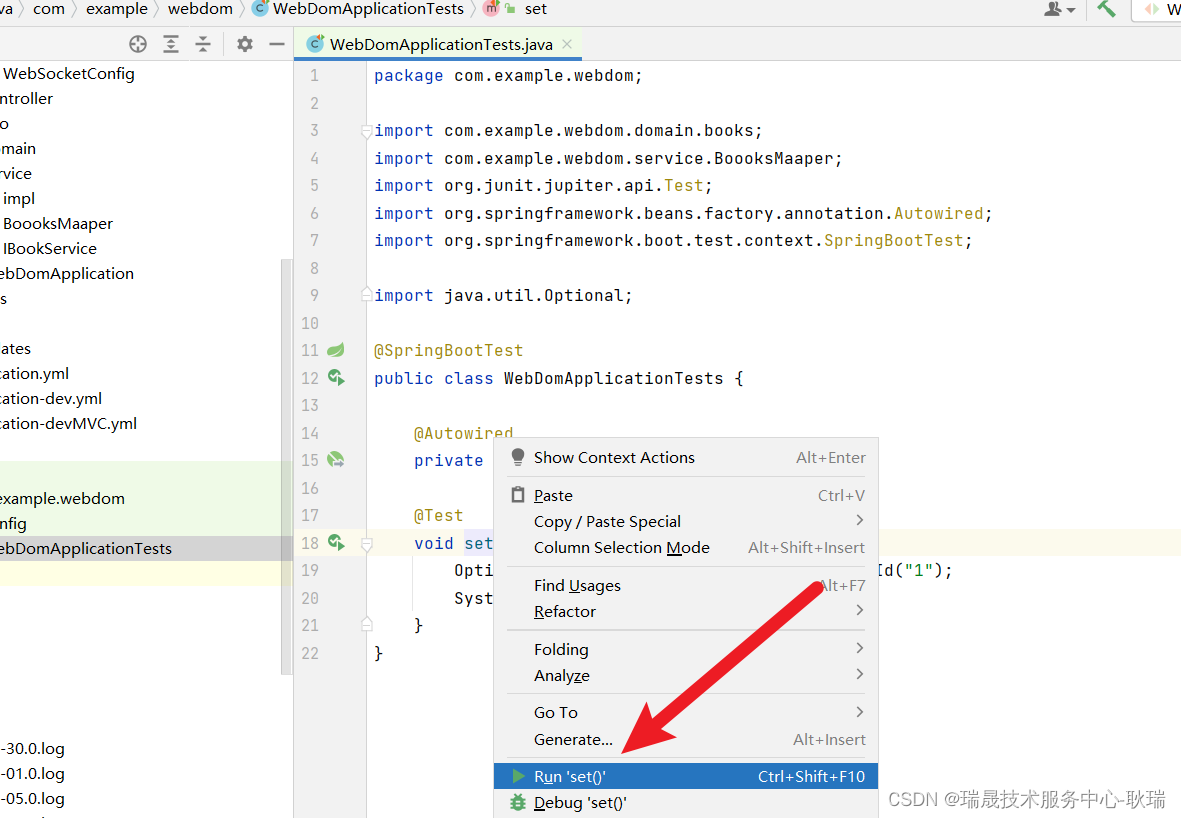
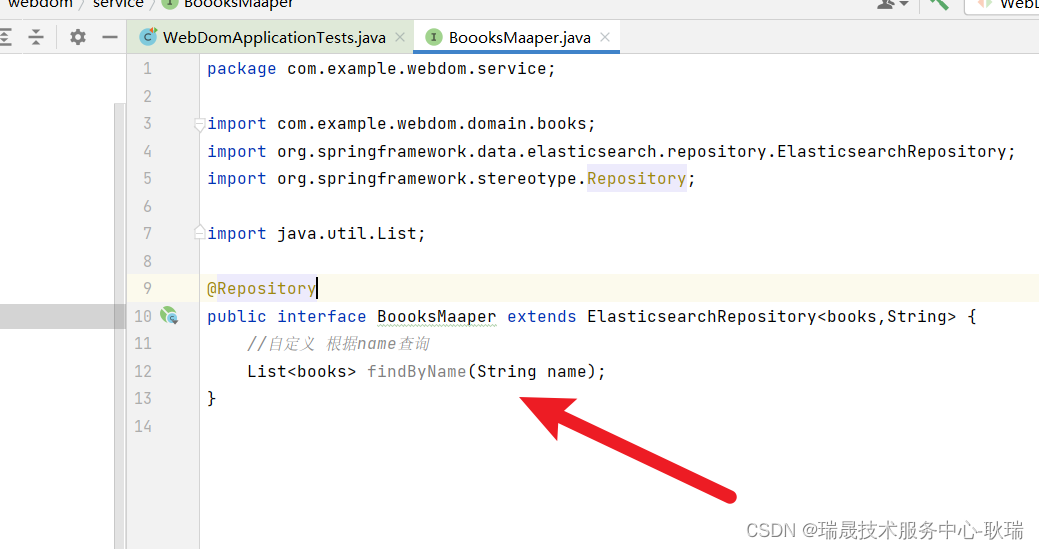
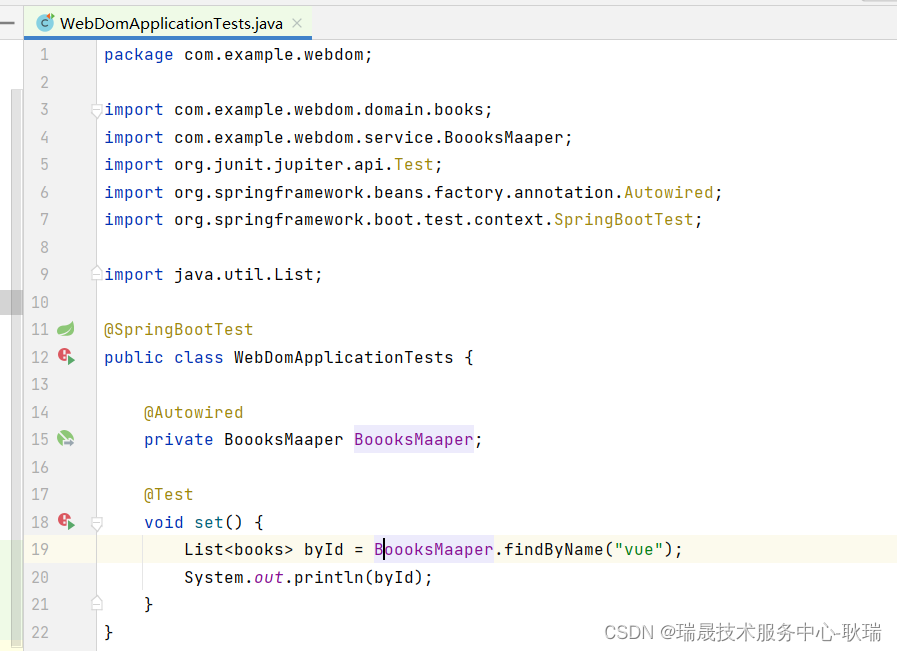
然后 我们创建一个Mapper接口 这里 我们直接就叫 BooksMapper
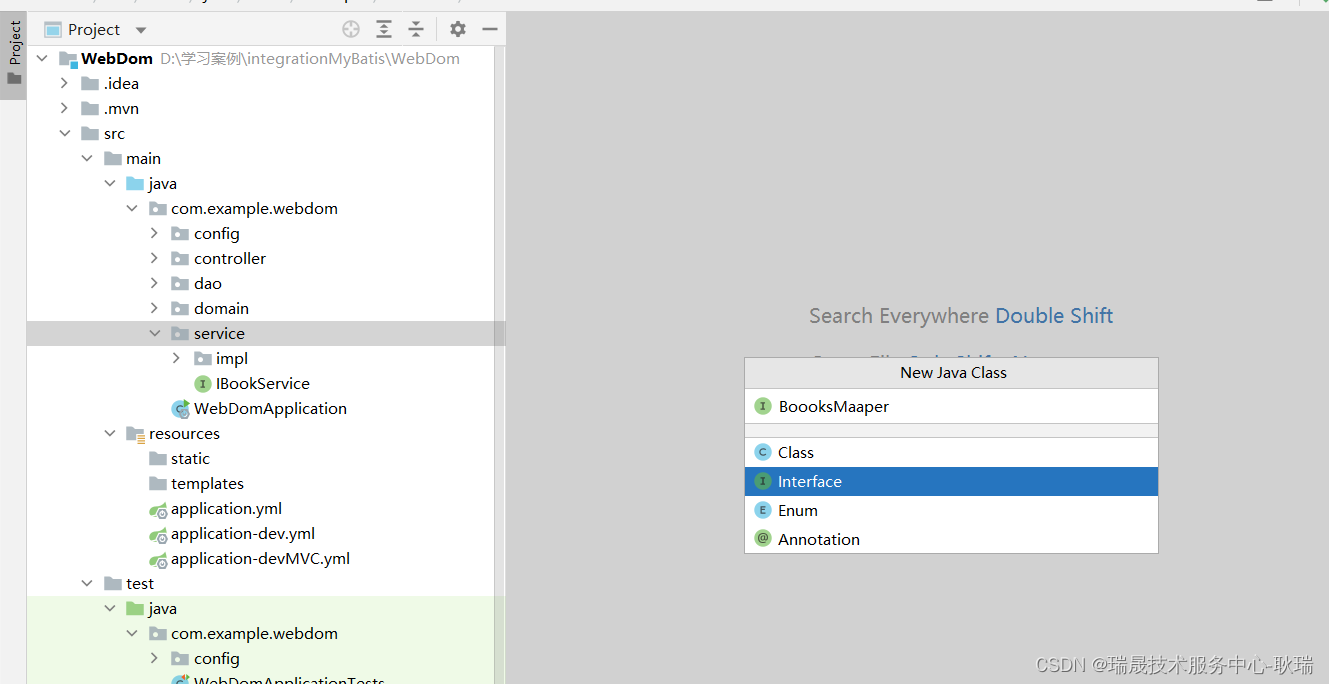
在这里插入图片描述
接口代码如下

package com.example.webdom.service;

import com.example.webdom.domain.books;
import org.springframework.data.elasticsearch.repository.ElasticsearchRepository;
import org.springframework.stereotype.Repository;

@Repository
public interface BoooksMaaper extends ElasticsearchRepository<books,String> {
}

它需要继承 ElasticsearchRepository 操作ES的一个接口 然后通过 Repository 将它加到spring容器中

然后 我们在启动类同目录下的 config 包 没有就建一个 下面创建一个类 叫 ESClientConfig 名字无所谓
然后 编写代码如下

package com.example.webdom.config;

import org.elasticsearch.client.RestClient;
import org.elasticsearch.client.RestHighLevelClient;
import org.springframework.beans.factory.annotation.Autowired;
import org.springframework.context.annotation.Bean;
import org.springframework.context.annotation.Configuration;
import org.springframework.core.env.Environment;

import org.apache.http.HttpHost;
import org.elasticsearch.client.RestClientBuilder;

@Configuration
public class ESClientConfig {

    @Autowired
    private Environment environment;

    @Bean
    public RestHighLevelClient elasticsearchClient() {
        String elasticsearchHosts = environment.getProperty("spring.elasticsearch.hosts");
        RestClientBuilder builder = RestClient.builder(HttpHost.create(elasticsearchHosts));
        // 设置其他配置,如认证信息、连接超时等
        RestHighLevelClient client = new RestHighLevelClient(builder);
        return client;
    }
}

在这里插入图片描述
然后 我们在测试类 中将这个接口条件装配进来
在这里插入图片描述
测试类代码编写如下

package com.example.webdom;

import com.example.webdom.domain.books;
import com.example.webdom.service.BoooksMaaper;
import org.junit.jupiter.api.Test;
import org.springframework.beans.factory.annotation.Autowired;
import org.springframework.boot.test.context.SpringBootTest;

@SpringBootTest
public class WebDomApplicationTests {

    @Autowired
    private BoooksMaaper BoooksMaaper;

    @Test
    void set() {
        books bookdai = new books();
        bookdai.setId("1");
        bookdai.setType("爱猫当的自我修改样");
        bookdai.setName("爱护猫猫");
        bookdai.setDescribe("帮助所有爱猫当快速了解猫猫");
        books book = BoooksMaaper.save(bookdai);
        System.out.println(book);
    }
}

这里 我们条件装配了自己写的接口 BoooksMaaper
然后 books实体类 new出来 然后 用set方法给每一个字段赋值
最后调用 save 添加方法 它有一个返回值 就是我们的属性类实体对象

我们右键运行
在这里插入图片描述
此时 我们就运行成功了 然后 可以看到 save 返回的这个对象 就是我们添加进去的东西了
在这里插入图片描述
然后 我们通过请求查询一下 books索引下面的文档
http://localhost:9200/books/_search get
就会看到 这里确实是进来了
在这里插入图片描述
然后呢 这个东西的修改比较有意思
我们还是这样一段代码

books bookdai = new books();
bookdai.setId("1");
bookdai.setType("vue");
bookdai.setName("vue基础到进阶");
bookdai.setDescribe("测试vue内容修改");
books book = BoooksMaaper.save(bookdai);
System.out.println(book);

有些人可能已经蒙了 save不是添加吗?
这里的设定非常有趣呀 save 你的id如果有 它会覆盖 如果没有 就是添加
我们的id 1是已经存在的 所以 它会将我们前面添加那条id为1的数据覆盖掉 就是修改功能了

运行之后 控制台输出一切正常
在这里插入图片描述
然后 我们来查一下
会发现 确实是实现了一个修改的效果
在这里插入图片描述
然后 我们来看 ES最有特殊的查询
其实ES主要的价值就在于分词的一个查询

首先是查询全部 findAll
我们这样写

Iterable<books> all = BoooksMaaper.findAll();
for (books book : all){
   System.out.println("book = " +book);
}

调用 findAll 返回一个 泛型为我们实体类的Iterable接口集合
然后 for遍历这个集合 输出每一次结果

运行代码 因为我们总共就一条数据 所以输出的内容就一条 findAll就是查询全部
在这里插入图片描述
然后 按照id查询 findById

Optional<books> byId = BoooksMaaper.findById("1");
System.out.println(byId);

我们查询id为1的内容 并输出
右键运行代码
在这里插入图片描述
这里 也是顺利查出来了
在这里插入图片描述
然后 他有一个比较特殊函数 感觉不是很实用findAllById
它支持传入list数组
可以传给它多个id 然后带出多条数据

ArrayList<String> ids = new ArrayList<>();
ids.add("1");
ids.add("2");
ids.add("3");
ids.add("4");
Iterable<books> byId = BoooksMaaper.findAllById(ids);

查询 id 1 2 3 4的数据 然后形成一个 实体类泛型的 Iterable集合

然后 我们来说自定义的查询方法
我们 可以在自己写的 BoooksMaaper 接口中写一个这样的函数

//自定义 根据name查询
List<books> findByName(String name);

在这里插入图片描述
这里需要注意 findBy 后面 跟自己要条件查询的字段名 首字母大写 因为如果你不这样 它是找不到你要查哪个字段的

然后 我们测试类来调用这个函数

List<books> byId = BoooksMaaper.findByName("vue");
System.out.println(byId);

在这里插入图片描述
运行代码 这里也顺利通过 vue 模糊查询到了
在这里插入图片描述
最后删除方法
我们就看个根据id删除吧 deleteById
没有返回值
我们直接写

BoooksMaaper.deleteById("1");

右键运行代码
在这里插入图片描述
运行状态是OK的 但是 看不出有没有成功
我们请求查询一下索引下的文档
在这里插入图片描述
很明显 已经删掉了

原文地址:https://blog.csdn.net/weixin_45966674/article/details/136055271

本文来自互联网用户投稿,该文观点仅代表作者本人,不代表本站立场。本站仅提供信息存储空间服务,不拥有所有权,不承担相关法律责任。

如若转载,请注明出处:http://www.7code.cn/show_67771.html

如若内容造成侵权/违法违规/事实不符,请联系代码007邮箱:suwngjj01@126.com进行投诉反馈,一经查实,立即删除!

发表回复

您的电子邮箱地址不会被公开。 必填项已用 * 标注