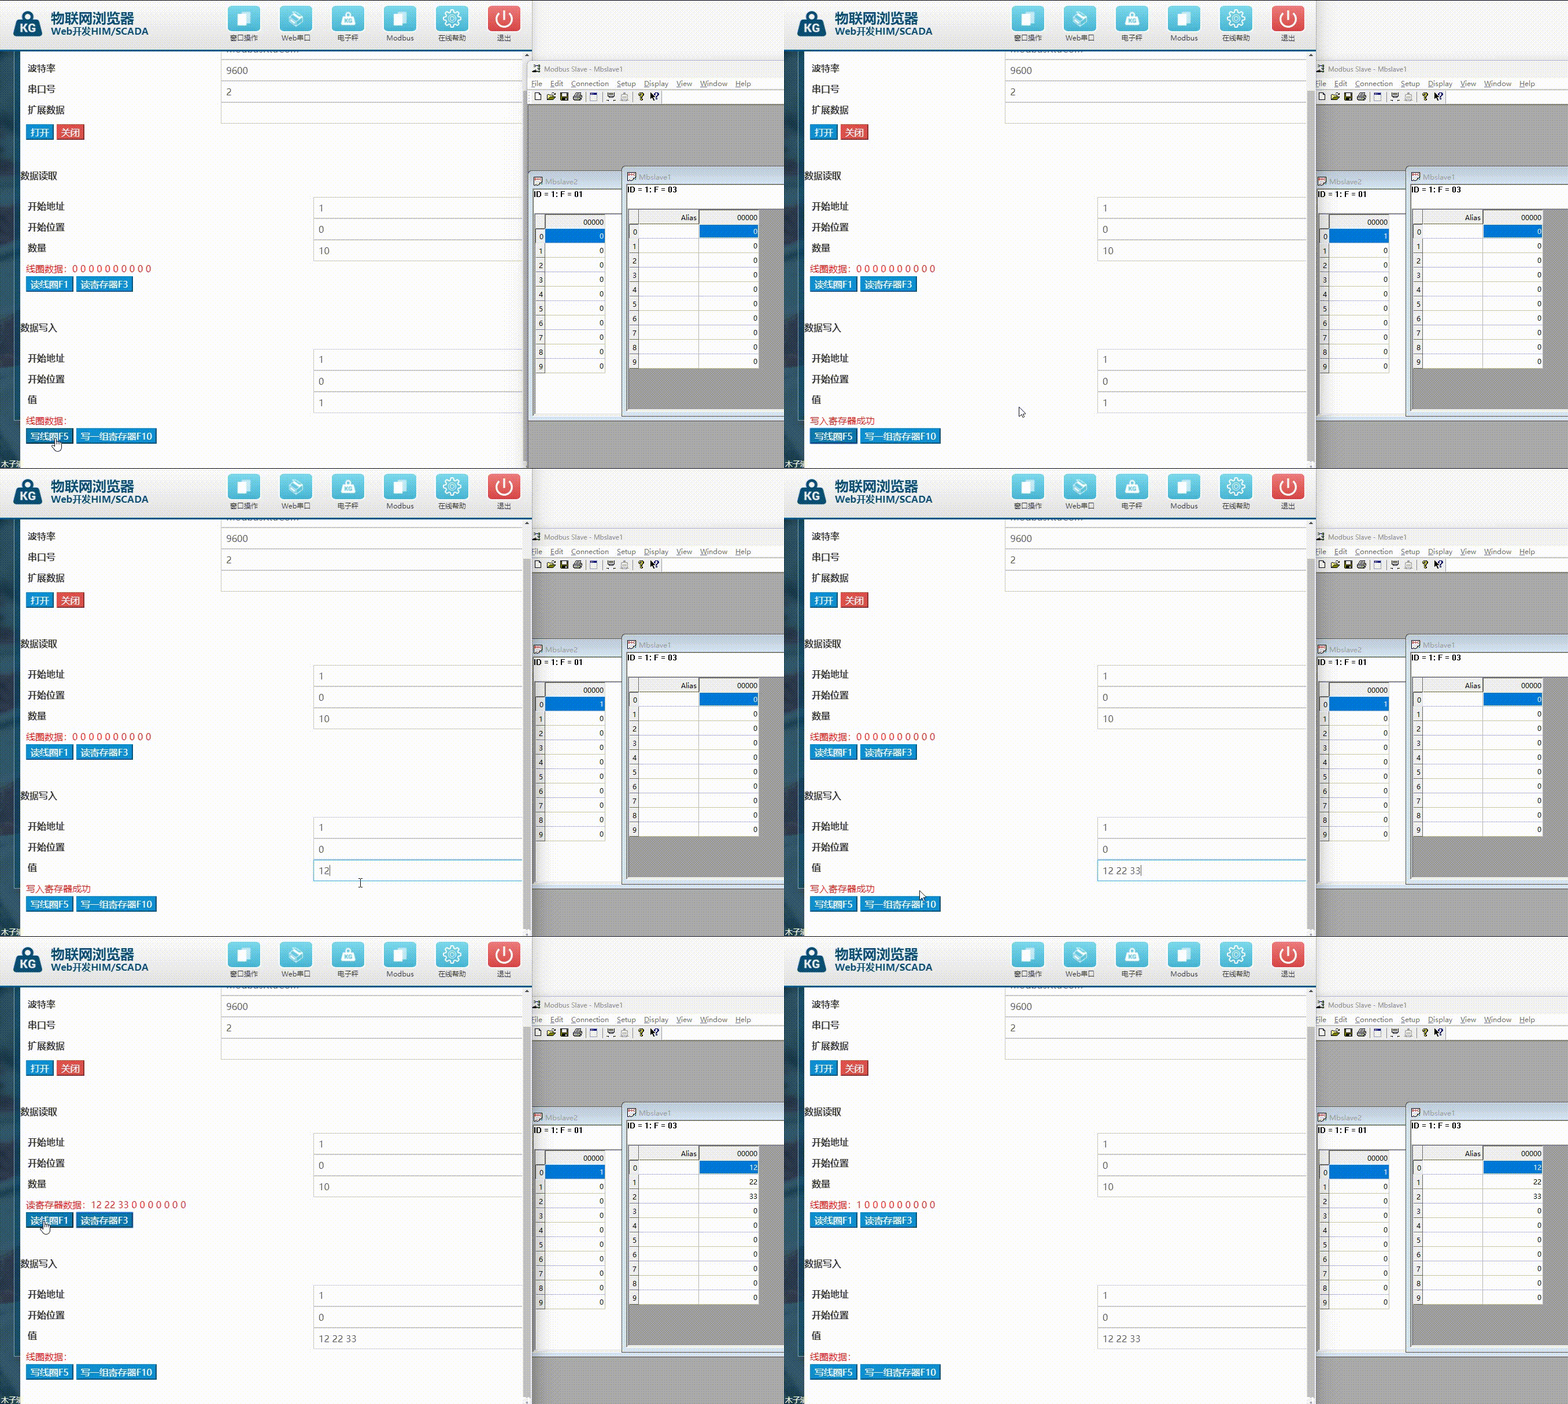
本文介绍: 此示例仅演示了基本的Modbus RTU服务器设置。根据你的需求,你可能需要添加更多的寄存器,实现读写逻辑,并处理Modbus请求。参考J2Mod文档和Modbus协议规范以获取更多信息。J2Mod是一个Java编写的Modbus通信库,可以用于实现Modbus RTU服务器。如果使用Gradle,可以在。如果使用Maven,可以在。
J2Mod是一个Java编写的Modbus通信库,可以用于实现Modbus RTU服务器。以下是一个简单的示例,演示如何使用J2Mod库创建一个Modbus RTU服务器:
如果使用Maven,可以在pom.xml文件中添加以下依赖项:
<dependency>
<groupId>com.ghgande.j2mod</groupId>
<artifactId>j2mod</artifactId>
<version>3.1.3</version> <!-- 使用最新版本 -->
</dependency>如果使用Gradle,可以在build.gradle文件中添加以下依赖项:
implementation 'com.ghgande.j2mod:j2mod:3.1.3' // 使用最新版本下面是一个简单的Modbus RTU服务器示例,监听在COM3串口上,地址为1:
import com.ghgande.j2mod.modbus.Modbus;
import com.ghgande.j2mod.modbus.procimg.SimpleDigitalIn;
import com.ghgande.j2mod.modbus.procimg.SimpleDigitalOut;
import com.ghgande.j2mod.modbus.procimg.SimpleProcessImage;
import com.ghgande.j2mod.modbus.serial.SerialParameters;
import com.ghgande.j2mod.modbus.serial.SerialPort;
import com.ghgande.j2mod.modbus.serial.SerialUtils;
import com.ghgande.j2mod.modbus.serial.SerialPortException;
import com.ghgande.j2mod.modbus.serial.SerialPortFactory;
import com.ghgande.j2mod.modbus.ModbusCoupler;

public class ModbusRTUServerExample {

    public static void main(String[] args) {
        try {
            // Create a process image with a single coil at address 0
            SimpleProcessImage spi = new SimpleProcessImage();
            spi.addDigitalOut(new SimpleDigitalOut(true)); // Coil at address 0
            spi.addDigitalIn(new SimpleDigitalIn(false)); // Input at address 1

            // Set up the serial parameters
            SerialParameters serialParameters = new SerialParameters();
            serialParameters.setCommPortId("COM3");
            serialParameters.setBaudRate(SerialPort.BAUD_9600);
            serialParameters.setDatabits(8);
            serialParameters.setParity(SerialPort.PARITY_NONE);
            serialParameters.setStopbits(1);
            serialParameters.setEncoding(Modbus.SERIAL_ENCODING_RTU);
            serialParameters.setEcho(false);

            // Create the Modbus RTU serial port
            SerialPort serialPort = SerialPortFactory.create(serialParameters);
            serialPort.open();

            // Set the serial port for ModbusCoupler
            ModbusCoupler.getReference().setMaster(false);
            ModbusCoupler.getReference().setUnitID(1);
            ModbusCoupler.getReference().setProcessImage(spi);
            ModbusCoupler.getReference().setSerialPort(serialPort);

            // Start the Modbus RTU server
            ModbusCoupler.getReference().start();

            System.out.println("Modbus RTU server is running...");

            // Wait forever (you can add your own logic here)
            while (true) {
                Thread.sleep(1000);
            }
        } catch (Exception e) {
            e.printStackTrace();
        }
    }
}原文地址:https://blog.csdn.net/a7491772/article/details/134759348
本文来自互联网用户投稿,该文观点仅代表作者本人,不代表本站立场。本站仅提供信息存储空间服务,不拥有所有权,不承担相关法律责任。
如若转载,请注明出处:http://www.7code.cn/show_49048.html
如若内容造成侵权/违法违规/事实不符,请联系代码007邮箱:suwngjj01@126.com进行投诉反馈,一经查实,立即删除!
声明:本站所有文章,如无特殊说明或标注,均为本站原创发布。任何个人或组织,在未征得本站同意时,禁止复制、盗用、采集、发布本站内容到任何网站、书籍等各类媒体平台。如若本站内容侵犯了原著者的合法权益,可联系我们进行处理。


