本文介绍: C# .Net6后支持顶级语句,更简单的RestApi服务支持,可以快速搭建一个极为简洁的Web系统。推荐使用Visual Studio 2022,安装”ASP.NET 和Web开发”组件。
1、准备
C# .Net6后支持顶级语句,更简单的RestApi服务支持,可以快速搭建一个极为简洁的Web系统。推荐使用Visual Studio 2022,安装”ASP.NET 和Web开发”组件。

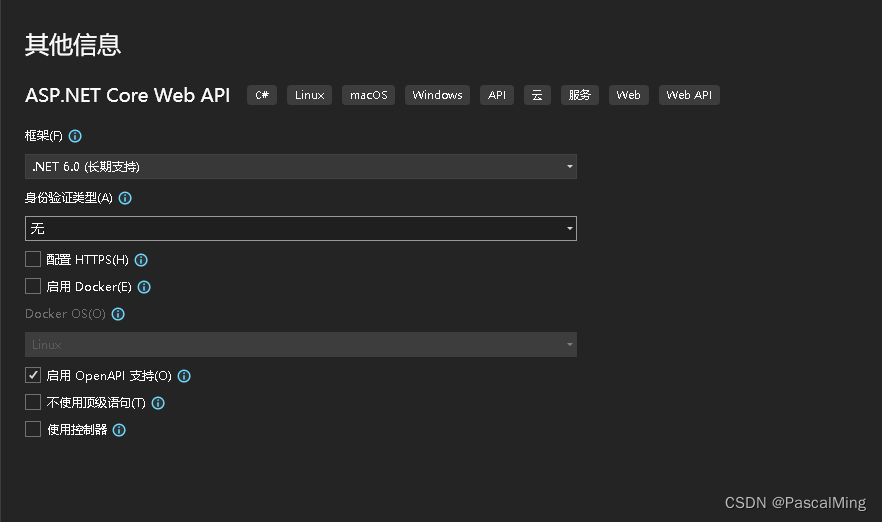
2、创建工程
关键步骤如下:

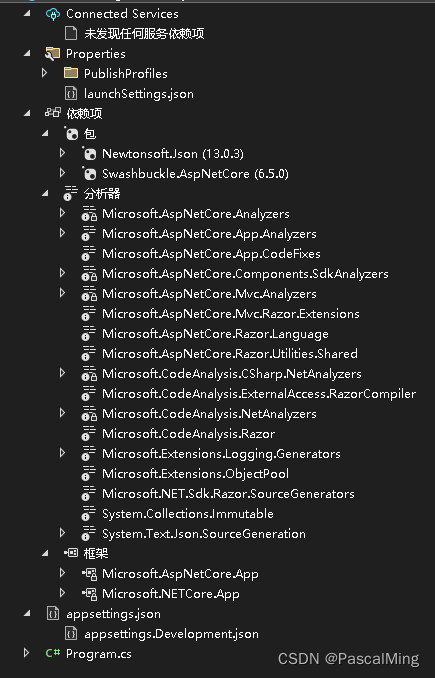
3、工程代码
4、部署文件
5、参考资料
声明:本站所有文章,如无特殊说明或标注,均为本站原创发布。任何个人或组织,在未征得本站同意时,禁止复制、盗用、采集、发布本站内容到任何网站、书籍等各类媒体平台。如若本站内容侵犯了原著者的合法权益,可联系我们进行处理。